How to Make a Fun Snowman Cake for Your Christmas Party
As the holidays get closer, we all start to look forward to making special memories. This year, why not make your Christmas party even more magical with a Snowman Cake? It’s not just a delicious treat, but it also adds a fun and festive vibe to your gathering.
With just a few easy steps and some creativity, you can turn your kitchen into a winter wonderland. Your guests will be amazed by your baking skills and the joy it brings to the party.
Table of Contents
Essential Ingredients and Tools for Your Snowman Cake
Making a 3D snowman cake is fun and requires the right stuff. You’ll need the right ingredients and tools, whether you’re making a fondant sculpture or a tiered cake. These things will help you make your holiday centerpiece special.
Required Baking Equipment
To bake a perfect snowman cake, you’ll need:
- Two round cake pans (7-inch and 9-inch or 6-inch and 8-inch) for the cake tiers
- Mixing bowls
- Measuring cups and spoons
- Hand mixer or stand mixer
- Rectangle cake board for assembling the cake
Key Cake Ingredients
Here are the main ingredients for your snowman cake:
- Two standard-sized packages of chocolate cake mix (or the necessary homemade cake ingredients such as flour, sugar, baking powder, and eggs)
- Three cups of vanilla frosting
- 16 ounces of chocolate frosting
- 5-6 drops of blue food coloring
Decorating Supplies and Materials
For the final touches, you’ll need these decorating supplies:
- Flaked coconut for the “snow”
- Fondant or gum paste in various colors for the snowman’s features (e.g., black for the eyes and mouth, orange for the carrot nose, and blue for the hat)
- Small candies or decorations for additional details (such as buttons, scarves, or accessories)
With these ingredients and tools, you’re ready to make a beautiful 3D snowman cake. It will be the star of your holiday celebrations.
Creating the Perfect Snowman Cake Base
To make a whimsical 3D snowman cake, start with baking the cake base. First, preheat your oven to 325°F. You’ll need two standard-sized packages of chocolate cake mix for the body and head.
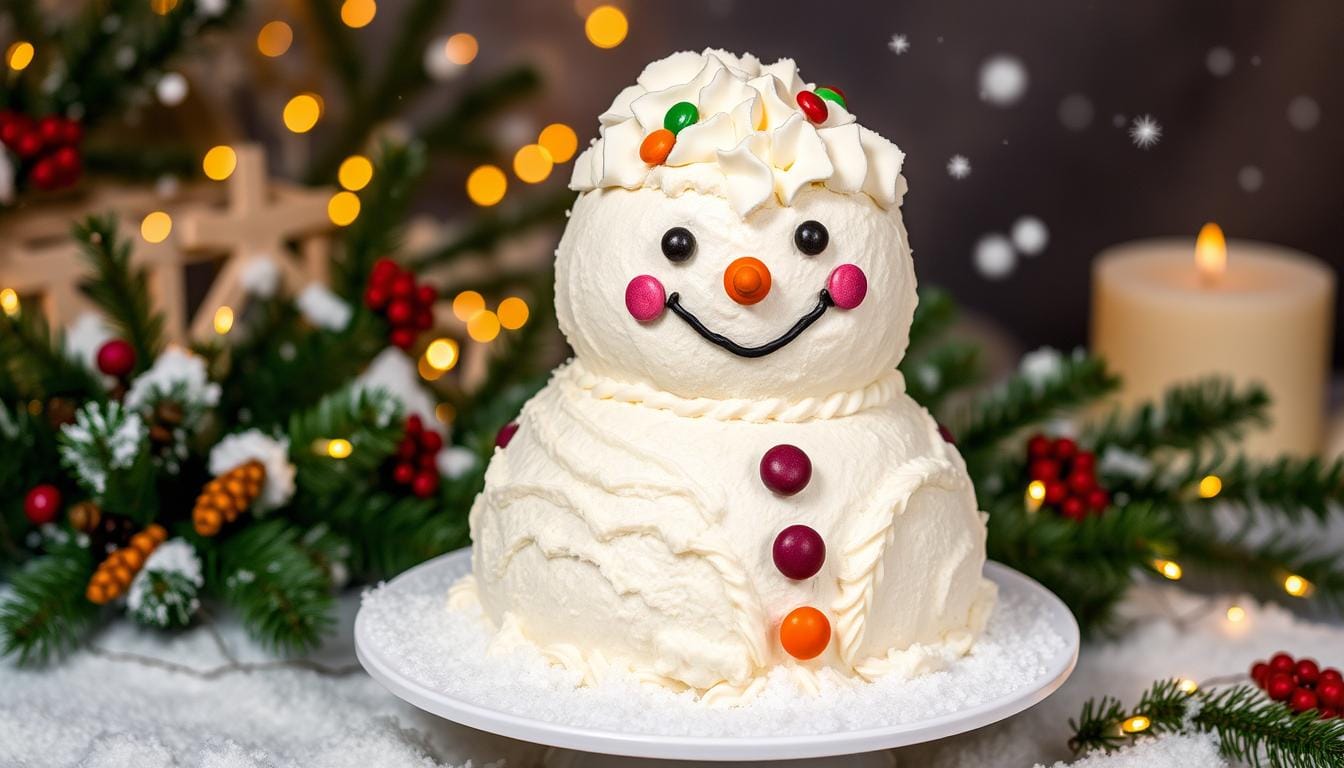
After baking and cooling, assemble the snowman shape. Place the larger cake on your serving board as the body. Then, put the smaller cake on top for the head. For a gluten-free version, use coconut flour and other alternatives.
Make sure all your cake ingredients, like eggs, are at room temperature. This ensures a soft, tender crumb. Now, you have a great 3D cake base for your Christmas party snowman!
| Ingredient | Quantity |
|---|---|
| Chocolate Cake Mix | 2 standard-sized packages |
| Vanilla Frosting | 3 cups |
| Chocolate Frosting | 16 ounces |
| Blue Food Coloring | 5-6 drops |
| Red Candy Tarts | As needed |
| Red Candy Coin | 1 |
The snowman cake can be stored at room temperature for up to three days. Or, keep it in the fridge for up to five days. It can also be frozen for up to three months if wrapped well.

Professional Frosting and Assembly Tips
Making a stunning tiered confection like a festive snowman cake needs careful frosting and assembly. First, apply a thin crumb coat of frosting to catch crumbs. Then, chill the cake for 30 minutes to set the base. When working on your edible snowman cake, place the cakes dome-side up for the right rounded shape.
Layering and Crumb Coating
For a smooth finish, use top-quality coconut or vanilla buttercream frosting. Stack the cake tiers carefully, making sure each layer is secure. A crumb coat is the base, holding any stray cake crumbs before the final frosting layer.
Achieving Smooth Frosting Finish
Use an offset spatula to smooth the frosting in gentle, circular motions. This creates a flawless, professional look. You can also cover the frosted cake with flaked coconut to look like snow, adding a fun texture to your festive cake.
Stacking and Securing Cake Tiers
When stacking, think about stability. Use dowel rods or straws in the bottom tiers to hold up the upper layers. This keeps your edible snowman cake sturdy and ready to impress at your Christmas party.
Creative Decorating Techniques for Your Snowman Cake
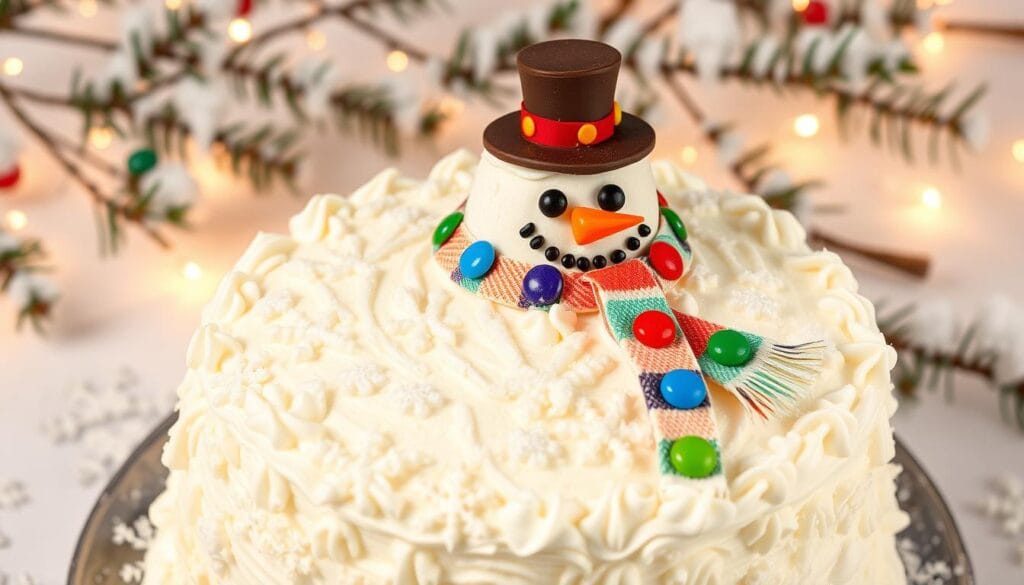
Turn your snowman cake into a magical holiday centerpiece. Start by covering the cake in white fondant for the snowman’s body. Then, use blue fondant for a charming hat and scarf. Add texture with a knife for a handmade look.
For the face and details, roll out brown or black fondant. Cut out small circles for the eyes and buttons. Make a carrot nose from orange fondant. Finish with white fondant details like a pom-pom or hat trim.
Want a simpler way? Try using candy melts, gumdrops, or pretzels. They add a fun touch to your holiday centerpiece and match the whimsical baking theme of your snowman cake.

“Unleash your creativity and transform a simple cake into a festive, fondant sculpture masterpiece that will wow your guests at your next holiday gathering.”
Remember, the key to a stunning snowman cake is to have fun decorating. Try different techniques and materials. This will capture the holiday spirit and make your cake a standout holiday centerpiece.
Storage Directions
To keep your Snowman Cake fresh and delicious, follow these storage tips:
- Room Temperature: If you’re serving the cake within 2-3 days, you can store it at room temperature. Just make sure to cover the cake tightly with plastic wrap or place it in an airtight container to prevent it from drying out.
- Refrigeration: For longer storage, refrigerate the cake by wrapping it in plastic wrap and placing it in an airtight container. This will help maintain its freshness for up to 5 days. Before serving, allow the cake to come to room temperature for the best flavor and texture.
- Freezing: To store the cake for a longer period, wrap it tightly in plastic wrap and aluminum foil, then place it in a freezer-safe bag. This will keep the cake fresh for up to 3 months. When you’re ready to eat it, thaw the cake in the fridge overnight and let it reach room temperature before serving.
By following these simple storage directions, you can enjoy your Snowman Cake for days after your holiday party!
Conclusion
The Snowman Cake is a delightful and impressive Christmas treat. It combines baking skills with creative festive cake design. This edible snowman creation is sure to be a showstopper at any holiday gathering.
With the right ingredients, tools, and decorating techniques, you can craft a stunning Snowman Cake. It will delight your guests. Whether you opt for a simple design or intricate details, this cake is sure to be a crowd-pleaser.
Remember to store the cake properly. You can keep it at room temperature for up to three days or in the refrigerator for up to five days. For the best flavor and texture, serve the cake at room temperature. So, don your apron, grab your piping bags, and let’s get baking and decorating.
FAQ
What are the key ingredients and tools needed to make a Snowman Cake?
How do I create the perfect Snowman Cake base?
What are the tips for professional-looking frosting and assembly?
How do I decorate the Snowman Cake?
How long can I store the Snowman Cake, and how should I serve it?
Did You Try Our Recipe?
There are no reviews yet. Be the first one to write one.

