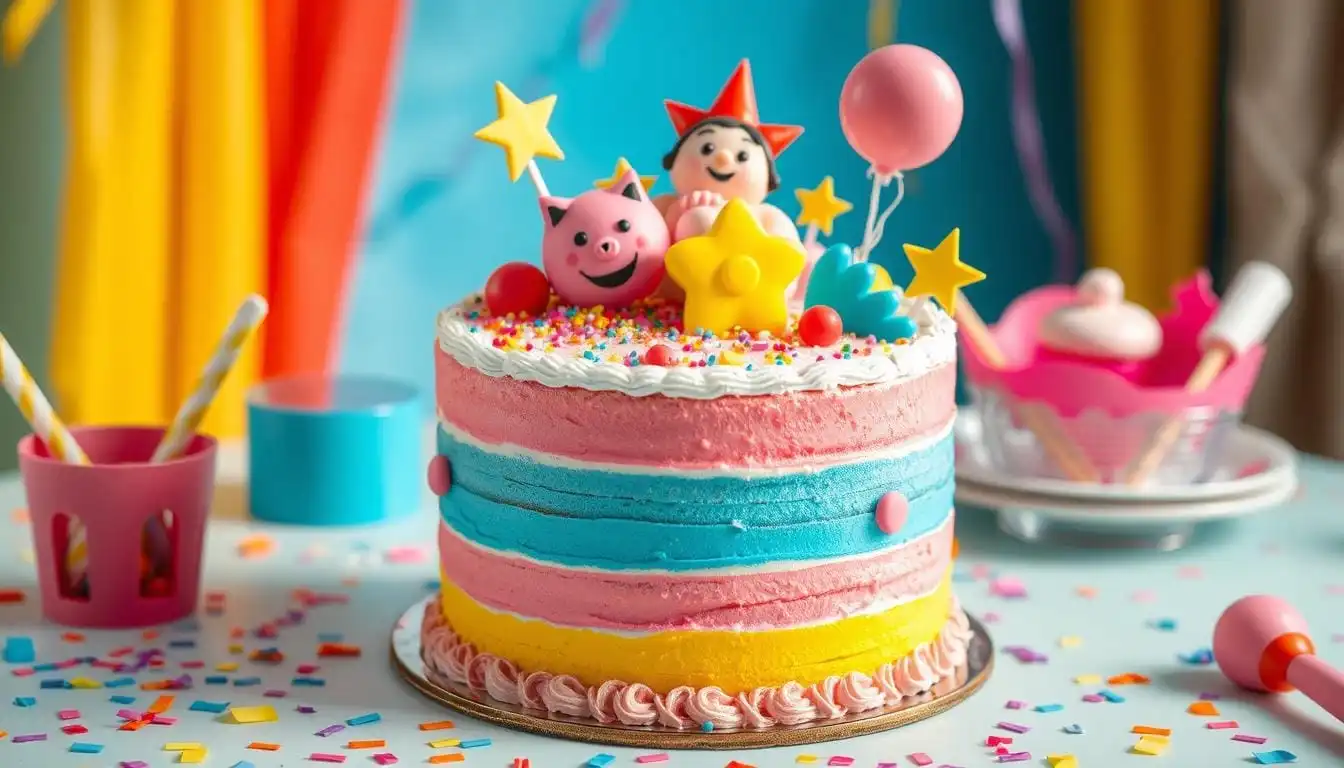
Nanalan Cake: How to Make a Playful Cake for Kids
Every parent knows the joy of making something special for their kids. The nanalan cake is more than a dessert. It’s a moment of joy that brings families closer together. Imagine your child’s sparkling eyes when you give them a homemade cake made with love and creativity.
This delightful nanalan cake recipe turns an ordinary afternoon into a special celebration. Whether it’s for a birthday party or a surprise treat, this guide will show you how to make a cake that’s fun to make and eat.
The nanalan cake is loved for its rich, moist texture and playful design. Our detailed recipe will help you make this delicious dessert. Your homemade nanalan cake will become a special family tradition.
Get ready for a baking adventure that will satisfy your sweet tooth and create lasting memories with your kids. Let’s start our delicious cake-making journey!
Table of Contents
Understanding the Classic Nanalan Cake
Nanalan cakes have a rich history that spans generations and cultures. They are more than just desserts. They celebrate tradition, flavor, and creativity, bringing joy to all.
The story of nanalan cakes starts in a small village kitchen. Family recipes were carefully passed down through generations. These treats blend cultural traditions, evolving over time.
Origins and Cultural Significance
Nanalan cakes offer a wide range of flavors and techniques. They have become popular worldwide, from local kitchens to famous cities like Tokyo and Paris. This shows their universal appeal.
- Originated in a traditional village setting
- Multi-generational recipe sharing
- Reflects regional culinary diversity
What Makes Nanalan Cakes Special for Kids
The best nanalan cakes are colorful and fun for kids. They come in classic flavors like vanilla and chocolate. There are also exciting flavors like mango and coconut.
| Flavor Profile | Characteristics |
|---|---|
| Classic Flavors | Vanilla, Chocolate |
| Exotic Flavors | Mango, Coconut |
Basic Components of the Cake
Here are the key ingredients :
- All-purpose flour
- Granulated sugar
- Fresh eggs
- Unsalted butter
- Pure vanilla extract
- Baking powder
“A nanalan cake is not just a dessert, it’s a canvas of creativity and a testament to culinary tradition.”
The secret to nanalan cakes is in their precise preparation. Bakers suggest creaming butter and sugar for 3-4 minutes. This creates air pockets. Using room-temperature ingredients is key for the right texture. With the right technique and ingredients, you can make a cake that will wow everyone.
Essential Ingredients and Equipment Needed
Making a tasty nanalan cake starts with the right ingredients and tools. Your baking success depends on good preparation and quality items. These bring magic to your kitchen.

Let’s look at the key nanalan cake ingredients and tools you’ll need for your baking journey:
Cake Ingredients Checklist
- All-purpose flour
- Granulated sugar
- Unsalted butter
- Large eggs
- Vanilla extract
- Baking powder
- Salt
- Milk
Must-Have Baking Equipment
- Two 8-inch round cake pans
- Electric mixer
- Mixing bowls
- Measuring cups and spoons
- Whisk
- Spatula
- Wire cooling rack
When you’re getting ready for your nanalan cake tutorial, keep these tips in mind:
“The quality of your ingredients directly impacts the taste and texture of your cake.”
Here are some top picks for your nanalan cake ingredients:
- Use room temperature ingredients for better mixing
- Sift dry ingredients to prevent lumps
- Invest in high-quality butter for richer flavor
- Measure ingredients precisely
By choosing the right ingredients and preparing your space, you’re ready for a delicious cake. It will impress both kids and adults.
Preparing Your Workspace for Baking Success
To make the perfect homemade nanalan cake, you need to prepare well. A tidy baking station makes the process fun and stress-free.
Setting Up Your Baking Station
First, collect all the tools and ingredients you’ll need. Here’s a list to help you get started:
- Two 8-inch or 9-inch round cake pans
- Large and medium mixing bowls
- Electric mixer or whisk
- Measuring cups and spoons
- Silicone spatula
- Cooling rack
Safety Measures for Baking with Kids
“Baking together creates sweet memories that last a lifetime!”
When baking with kids, keep safety in mind. Here are some tips:
- Always watch kids near hot surfaces
- Use oven mitts for hot pans
- Teach them to wash hands properly
- Give them tasks that fit their age
Pre-Baking Checklist
Follow this checklist for a successful bake:
| Preparation Step | Details |
|---|---|
| Ingredient Temperature | Let butter, eggs, and milk warm up (30 minutes) |
| Oven Preheating | Heat to 350°F (175°C) for 10-15 minutes |
| Ingredient Measurement | Use level measuring cups for accuracy |

Pro tip: An oven thermometer ensures your cake bakes at the right temperature.
Step-by-Step Nanalan Cake Recipe
Making the best homemade nanalan cake needs care and love. This recipe will show you how to bake a cake that kids will love!
First, get all your ingredients and tools ready. It’s important to use room temperature ingredients for the best cake texture.
Ingredient Preparation
- Measure dry ingredients precisely using a kitchen scale
- Allow butter, eggs, and milk to reach room temperature (68-72°F)
- Preheat oven to 350°F for consistent baking
Mixing Process
- Cream butter and sugar for 3-4 minutes on medium speed
- Add eggs one at a time, mixing thoroughly
- Combine dry ingredients separately
- Gradually incorporate dry mixture into wet ingredients
| Ingredient | Quantity | Notes |
|---|---|---|
| All-purpose flour | 2½ cups | Sifted for smooth texture |
| Granulated sugar | 1½ cups | For sweetness |
| Baking powder | 1 tsp per cup of flour | Ensures light consistency |
| Butter | 1 cup | Room temperature |
| Eggs | 3 large | At room temperature |
Pro tip: Optional mix-ins like chocolate chips or nuts can enhance your nanalan cake’s flavor. Use about 1 cup per 2-3 cups of flour.
“Baking is love made visible”
Bake the cake for 30-35 minutes, checking doneness with a toothpick. Let it cool on a wire rack for 10-15 minutes to prevent condensation. Your homemade nanalan cake is ready to delight everyone!
Creative Decorating Ideas and Techniques
Turning your cake into a masterpiece needs creativity and smart decorating tricks. Whether it’s for a birthday or a special event, these tips will make your cake unforgettable.
Decorating a Nanalan cake is both fun and a bit of a challenge. The most important thing is to have fun and be creative.
Color Schemes and Themes
Think about these bright color schemes for your nanalan cakes:
- Bright pastels with soft green and pink accents
- Playful primary colors for a bold look
- Subtle watercolor-inspired gradients
Kid-Friendly Decorating Tips
Get kids involved in decorating with these easy steps:
- Use pre-made fondant characters
- Let kids help with sprinkle placement
- Create simple piped designs using template guides
Using Different Frosting Types
| Frosting Type | Best Use | Difficulty Level |
|---|---|---|
| Buttercream | Smooth surfaces and piping | Easy |
| Fondant | Detailed character decorations | Intermediate |
| Whipped Cream | Light, airy finishes | Easy |
Pro tip: Use room temperature ingredients and measure carefully. This helps your frosting stay perfect for decorating.
“The secret to a great Nanalan cake is letting your imagination run wild!” – Cake Decorating Experts
Remember, the more you practice, the better you’ll get. Every attempt at decorating a nanalan cake will make you more skilled and bring you joy.
Storage Tips and Serving Suggestions
Keeping your nanalan cake fresh is important. It’s great for special occasions or just enjoying at home. The right storage keeps it tasting and looking good.
Refrigeration and Storage Techniques
- Store unfrosted cake layers wrapped in plastic at room temperature for up to 2 days
- Refrigerate frosted nanalan cake in an airtight container for 3-4 days
- Freeze cake layers for up to 2 months by wrapping them tightly in plastic wrap
When storing, cover the cake with plastic wrap to keep decorations safe. Pro tip: Use toothpicks to create a protective tent if needed.
Serving Recommendations
Let your cake come to room temperature before serving. This takes about 30-45 minutes. Use a warm, wet knife for clean cuts.
“A perfectly served cake is a memory in the making!” – Baking Enthuasiasts
For kids’ parties, cut smaller pieces and have extra plates. A nanalan birthday cake is more than dessert. It’s a fun experience for everyone.
Transportation Tips
- Use a sturdy cake carrier with secure latches
- Place non-slip mats underneath the cake box
- Keep the cake level during transport
- Avoid direct sunlight and extreme temperatures
Follow these tips, and your nanalan cake will stay fresh and delicious. It will be a hit at any party!
Conclusion
Your Nanalan cake journey is just starting. It’s filled with endless possibilities for creativity in the kitchen. Every time you bake, you get to try something new and add your own special touch.
A Nanalan birthday cake is more than just a dessert. It’s a way to turn simple ingredients into something truly special. With 70% of bakers trying new flavors, you’re joining a community that loves to innovate and keep traditions alive. No matter your skill level, there’s always room to be creative with Nanalan cake.
Baking is not just about making something tasty. It’s also about connecting with others. Studies show that baking can boost your mood and create lasting memories with family and friends. Your Nanalan cake is a way to share joy and make moments that will be cherished forever.
The key to a great Nanalan cake is the love you put into it. So, get ready to mix, bake, and enjoy the journey. Let your baking adventure begin!
FAQ
What is a Nanalan cake?
How difficult is it to make a Nanalan cake at home?
What are the essential ingredients for a Nanalan cake?
Can I customize a Nanalan cake for different dietary needs?
How far in advance can I prepare a Nanalan cake?
What are some popular decoration ideas for a Nanalan cake?
How long does a Nanalan cake typically take to make?
Are Nanalan cakes suitable for children’s birthday parties?
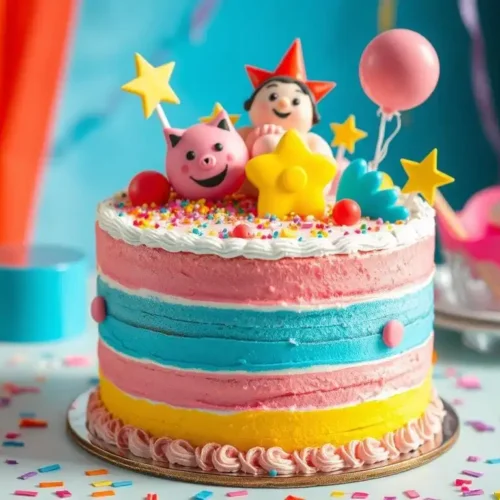
How to Make a Playful Nanalan Cake for Kids
Equipment
- Two 8-inch round cake pans (or 9-inch)
- Electric mixer (or whisk)
- Mixing bowls
- Measuring cups and spoons
- Sifter for dry ingredients
- Spatula
- Wire cooling rack
- Toothpicks (for cake testing)
- Cake carrier for transportation (if needed) (if needed)
Ingredients
- 2½ cups all-purpose flour sifted
- 1½ cups granulated sugar
- 1 cup unsalted butter room temperature
- 3 large eggs room temperature
- 1 tsp vanilla extract
- 1 tsp baking powder per cup of flour about 2½ tsp
- 1 cup milk room temperature
- A pinch of salt optional
- Optional: chocolate chips sprinkles, or nuts (about 1 cup per 2-3 cups of flour)
Instructions
Preparation:
- Preheat the oven to 350°F (175°C).
- Let butter, eggs, and milk come to room temperature (about 30 minutes before baking).
Mix Dry Ingredients:
- Sift the flour, baking powder, and salt into a medium bowl. Set aside.
Cream Butter & Sugar:
- In a large mixing bowl, cream the softened butter and sugar using an electric mixer on medium speed for about 3-4 minutes until light and fluffy.
Add Eggs & Vanilla:
- Beat in the eggs, one at a time, mixing well after each addition. Stir in the vanilla extract.
Combine Dry & Wet Ingredients:
- Gradually add the dry ingredients into the butter mixture, alternating with the milk. Start and end with the dry ingredients. Mix until just combined.
Bake:
- Divide the batter evenly between the two prepared cake pans. Bake for 30-35 minutes, or until a toothpick inserted into the center comes out clean.
Cool:
- Let the cakes cool in the pans for about 10 minutes before transferring them to a wire cooling rack.
Decorating:
- Once the cakes are fully cooled, start decorating with your choice of frosting, food coloring, and sprinkles. You can use buttercream for smooth surfaces, whipped cream for light finishes, or fondant for intricate designs.
Notes
Storage:
- Store unfrosted cake layers at room temperature for up to 2 days.
- Refrigerate frosted cake in an airtight container for 3-4 days.
- You can freeze cake layers for up to 2 months if needed.
Did You Try Our Recipe?
There are no reviews yet. Be the first one to write one.