Irresistible Mini Cheesecake Bites for Every Celebration!
My grandmother’s homemade cheesecake was always the star at family gatherings. The creamy texture and buttery crust were amazing. Now, I crave that taste but in a smaller, easier-to-eat form. Mini cheesecake bites are the answer, offering a delicious treat without the big slice.
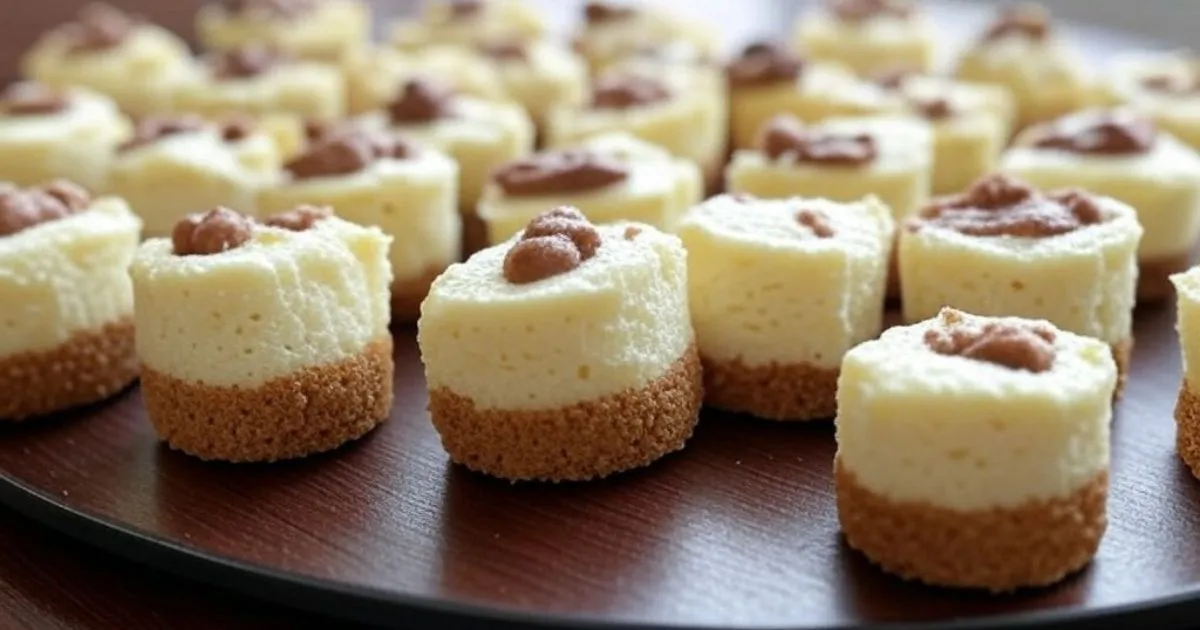
These mini cheesecake bites are a true indulgence. They’re a 2-bite wonder with a buttery crust and creamy filling. You can choose from classic or creative flavors like strawberry swirl and chunky Oreo. They’re perfect for any event or just for a special treat.
Table of Contents
A Complete Guide to Mini Cheesecake Bites
If you’re searching for a delightful and versatile dessert, petite cheesecake cups are perfect. These individual cheesecake portions are both convenient and elegant. They’re ideal for any occasion, whether it’s a special event, a work function, or just a sweet treat.
Why Choose Mini Cheesecakes?
Mini cheesecakes are simpler to make than big ones, needing no water bath and fewer steps. They let you control portions better, making them a guilt-free choice. Plus, they add sophistication to any gathering, enhancing the dining experience for everyone.
Benefits of Individual Portions
- Convenient and easy to serve
- Ideal for portion control and calorie-conscious diners
- Offers a wide range of toppings and flavors for customization
- Perfect for special events, work functions, and as party favors
Perfect for Special Events
These petite cheesecake cups are the ultimate crowd-pleaser. Their small size and elegant look make them a hit at weddings, baby showers, birthdays, and more. The individual cheesecake portions let guests enjoy a tasty treat without feeling overwhelmed by a big slice.
“Mini cheesecakes are the perfect way to elevate any event. They offer the rich, creamy flavor of cheesecake in a handheld, portion-controlled format that’s both delicious and visually appealing.” – Pastry Chef, Samantha Wilkins
Essential Ingredients for Perfect Mini Cheesecakes
Making delicious mini cheesecake bites needs the right mix of ingredients. At the core are cream cheese, sugar, eggs, sour cream, vanilla extract, and a bit of lemon juice. Together, they make a creamy filling that’s a joy to eat.
The crust is made with graham cracker crumbs, melted butter, and a bit of sugar. This mix gives a nice crunch that contrasts with the creamy filling.
For extra flavor, try adding cookie dough chunks or fresh fruit. These special touches let you make the mini cheesecakes your own, perfect for any event.
Using top-notch, room-temperature ingredients is crucial for a smooth texture. With the right mix, you’ll make a creamy dessert that everyone will love.
| Ingredient | Quantity | Purpose |
|---|---|---|
| Cream Cheese | 2 packages (8 ounces each) | Provides the rich, creamy texture |
| Sugar | ⅔ cup (141 g) | Sweetens the filling |
| Eggs | 2 | Binds the filling and creates a smooth consistency |
| Sour Cream | ⅓ cup (80 ml) | Adds moisture and a tangy flavor |
| Vanilla Extract | 1 teaspoon | Enhances the overall flavor |
| Lemon Juice | 1 tablespoon | Balances the sweetness and adds a touch of brightness |
| Graham Cracker Crumbs | 1 ½ cups (126 g) | Forms the crunchy, buttery crust |
| Melted Butter | 5 tablespoons (71 g) | Binds the graham cracker crumbs for the crust |

“Using high-quality, room-temperature ingredients ensures a smooth and creamy texture for your mini cheesecakes.”
Creating the Perfect Graham Cracker Crust
The graham cracker crust is key to making delicious no bake mini cheesecake bites. To get it right, you need to know the right mix of ingredients and how to press them. Let’s explore how to make a perfect base for your tasty mini cheesecake base.
Crust Ingredients and Proportions
For the best graham cracker crust, you’ll need:
- 1 cup of graham cracker crumbs (about 8 full sheets)
- 4 tablespoons of melted butter
- 2 tablespoons of sugar
Mix these ingredients well until they look like coarse sand. This mix will give you a strong and tasty base for your mini cheesecake bites.
Pressing and Pre-baking Tips
After mixing the crust ingredients, press them into your muffin tin. Use about 1 tablespoon for each cup. Press the mixture firmly into the bottom of each cup to make a solid, even layer.
Before adding the cheesecake filling, pre-bake the crust for 5 minutes at 350°F. This step sets the graham cracker crust and keeps it from getting soggy when the filling is added.
With the right mix and pressing, you’ll have a strong and tasty graham cracker crust. It will be the perfect base for your yummy mini cheesecake bites.
Mastering the Creamy Cheesecake Filling
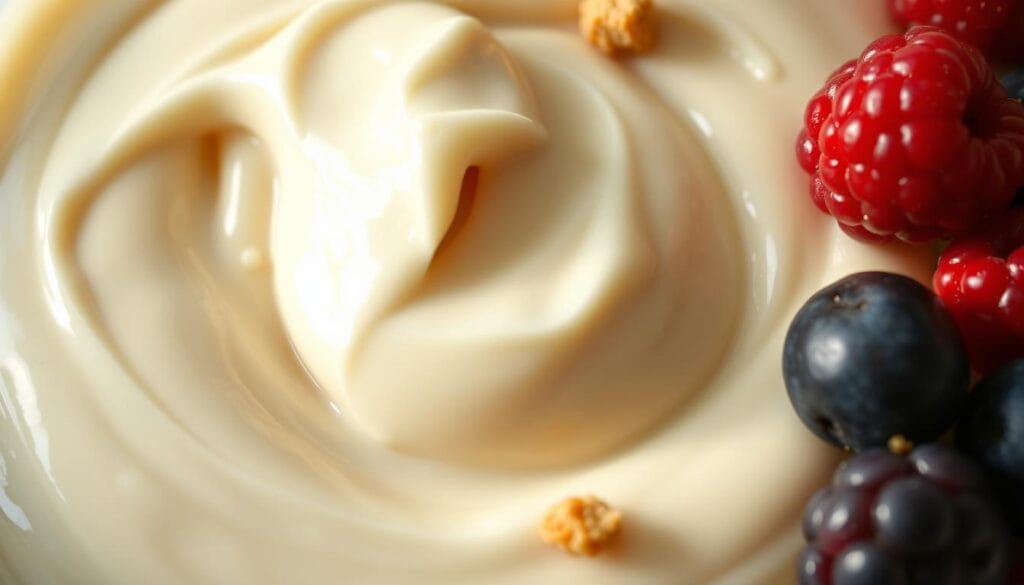
Creating the perfect cheesecake filling is key to delicious mini creamy dessert bites. Start by making sure your cream cheese is at room temperature. This makes it blend well with other ingredients.
First, beat the softened cream cheese with sugar until it’s light and creamy, about 5 minutes. Gradually add the eggs one at a time, ensuring each is fully incorporated before adding the next. This step is important for a rich and creamy texture.
After that, mix in the sour cream, vanilla extract, and a bit of lemon juice. The sour cream adds a nice tang, while vanilla and lemon juice boost the flavor. Stir until the filling is smooth and even.
“The key to achieving a perfectly creamy mini cheesecake filling lies in the technique. Blend the ingredients slowly and thoroughly for a smooth, velvety texture.”
When your cheesecake filling is ready, you’re almost there. You’ll make mini creamy dessert bites that everyone will love. Just remember to mix gently and avoid overmixing to keep it light and fluffy.

Step-by-Step Baking Instructions
Are you ready to bake perfect mini cheesecake bites? Our guide will help you make creamy and indulgent desserts every time. Whether you’re making classic or no-bake mini cheesecakes, we’ve got you covered.
Temperature and Timing Guidelines
First, preheat your oven to 350°F. Divide the cheesecake filling evenly among muffin cups with graham cracker crusts. Bake for about 18 minutes, until the edges are set and the centers are slightly jiggly.
Cooling and Setting Process
After baking, let the mini cheesecakes cool at room temperature for 30 minutes. This helps prevent cracking. Then, put them in the fridge for 2-3 hours, or overnight, until they’re set.
Troubleshooting Common Issues
Baking mini cheesecakes can be fun, but some issues might pop up. Overbaking can cause cracks, while underbaking makes them runny. Stick to our temperature and timing tips to avoid these problems.
No-bake mini cheesecakes are easy. Just refrigerate the filled crusts and let them set for a few hours or overnight. This method avoids baking issues, making it a simple choice for your mini cheesecakes.
Delicious Flavor Variations and Toppings
Mini cheesecake bites offer endless flavor options. Try the classic strawberry swirl or the rich chocolate chip. These treats come in many delightful flavors.
For something new, try the zesty key lime or the crowd-pleasing Oreo mini cheesecakes. Add fruit, chocolate chips, or cookie dough chunks for extra fun.
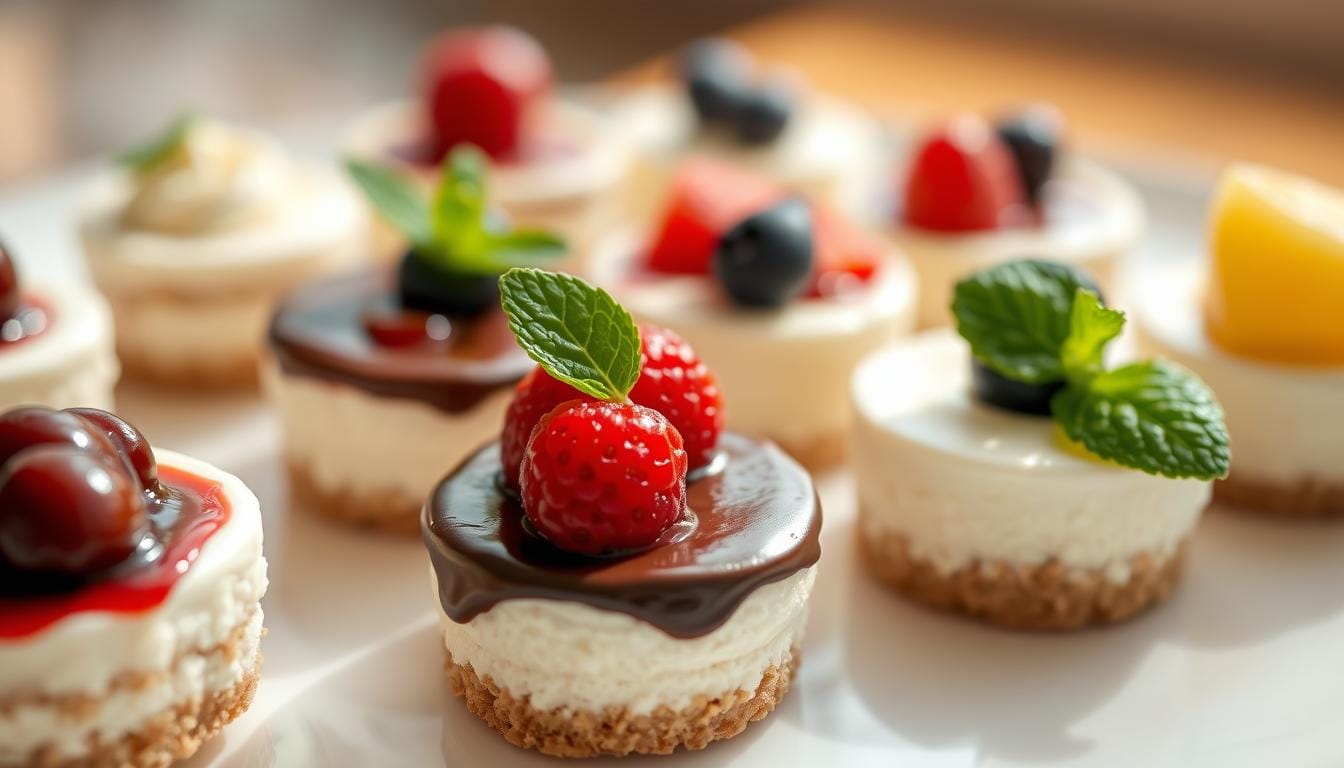
After baking, the fun doesn’t stop. Top your mini cheesecakes with whipped cream, chocolate, or caramel sauce. A sprinkle of fresh fruit or crushed cookies or brownies as the crust adds a special touch.
| Flavor Variations | Toppings |
|---|---|
|
|
Creating your own mini cheesecake flavors and toppings is endless fun. Mix and match to find your favorite. Impress your friends with these irresistible mini cheesecake bites.
Storage and Make-Ahead Tips
Enjoy the delightful flavors of mini cheesecake bites for longer by mastering the art of storage and make-ahead preparation. With a few simple tips, you can savor these irresistible treats for days to come.
Refrigeration Guidelines
For short-term storage, keep your mini cheesecake bites fresh by storing them in an airtight container in the refrigerator. They will maintain their creamy texture and flavor for up to 4 days. Be sure to cover the container tightly to prevent the cheesecakes from drying out.
Freezing Instructions
To extend the shelf life of your mini cheesecake bites, consider freezing them. Prepare the cheesecakes without any toppings, then place them in an airtight, freezer-safe container or wrap them individually in plastic wrap and aluminum foil. Frozen mini cheesecakes can be stored for up to 3 months. When ready to serve, thaw the cheesecakes in the refrigerator overnight before adding your desired toppings.
| Storage Method | Maximum Storage Time |
|---|---|
| Refrigerator | 4 days |
| Freezer | 3 months |
By following these simple storage and make-ahead tips, you can enjoy your delectable mini cheesecake bites long after the initial baking. Whether you need a quick dessert or are planning a special event, having mini cheesecake storage and make-ahead desserts on hand ensures you can indulge in these creamy delights whenever the craving strikes.
Serving Suggestions and Presentation Ideas
When serving your mini cheesecake bites, presentation matters a lot. Make a display that highlights their creamy texture and small size. This will make them look irresistible.
For a fancy touch, place the mini cheesecakes on a tiered dessert stand. Top each one with a fresh berry, a mint sprig, or powdered sugar. This will add elegance and impress your guests.
For a casual event, use individual dessert cups or shot glasses. This makes it easy for guests to enjoy their own mini cheesecake. You can also set up a topping bar with sauces, fruits, and nuts. Let your guests customize their treats.
| Serving Suggestion | Presentation Idea | Occasion |
|---|---|---|
| Tiered Dessert Stand | Garnished with berries, mint, or powdered sugar | Elegant Gatherings |
| Individual Dessert Cups or Shot Glasses | DIY Topping Bar with sauces, fruits, and nuts | Casual Celebrations |
How you serve your mini cheesecake bites is key. Aim for a presentation that’s both appealing and inviting. This will enhance the rich, creamy flavor of these treats.
Conclusion
Mini cheesecake bites are the perfect treat for any event. They are easy to make and offer endless flavor options. Each bite is a delight, making them great for any gathering.
These mini cheesecakes are easy to prepare and store. They impress guests and leave them wanting more. You can stick to classic flavors or try new ones, making them a favorite for any occasion.
Mini cheesecake bites are a must-try for dessert lovers. They offer a creamy, indulgent experience. Each bite is a celebration of deliciousness, making every moment special.
FAQ
What are mini cheesecake bites?
What flavors are available for mini cheesecakes?
What are the benefits of mini cheesecake bites?
What are the key ingredients for mini cheesecakes?
How do you make the perfect graham cracker crust for mini cheesecakes?
What is the process for making the creamy cheesecake filling?
How do you bake and cool mini cheesecakes properly?
What are some flavor variations and topping ideas for mini cheesecakes?
How should mini cheesecakes be stored and frozen?
How should mini cheesecakes be presented and served?
Did You Try Our Recipe?
There are no reviews yet. Be the first one to write one.

