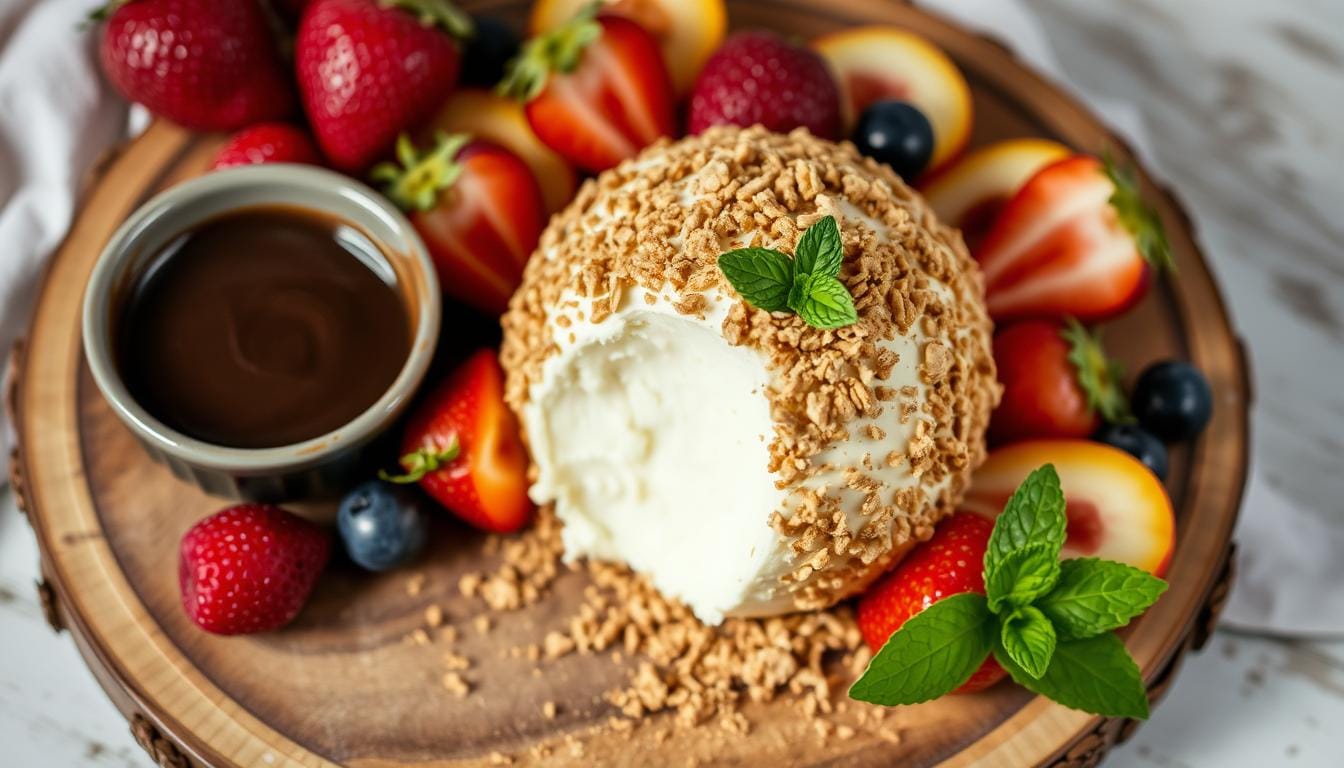
Easy No-Bake Cheesecake Ball Recipe – Party Favorite
The smell of creamy cheesecake fills the air, and the sweetness melts in your mouth. These moments make any event unforgettable. As a hostess, I know a great dessert can wow your guests and leave them wanting more. The easy no-bake cheesecake ball is just that, ready in 15 minutes and bursting with flavor.
Making these treats is easy, and they’re truly amazing. They mix creamy cream cheese with crunchy graham crackers. This combo makes a dessert that’s a hit at any party. Whether it’s a family event, dinner party, or casual meet-up, these cheesecake balls will impress everyone.
Table of Contents
The Perfect Party Dessert Introduction
Bite-sized treats are always a hit at parties. The No-Bake Pumpkin Cheesecake Balls are a perfect example. They are creamy, sweet, and packed with flavor. They’re perfect for any event, from family dinners to holiday parties.
Why Cheesecake Balls Are a Hit
The No-Bake Pumpkin Cheesecake Balls are loved for their texture and taste. Each ball is a mix of richness and sweetness. With about 387 calories, they offer a velvety, indulgent experience.
Benefits of No-Bake Desserts
No-Bake Pumpkin Cheesecake Balls are not just tasty. They’re also easy to make and practical for parties. You can make them ahead of time, saving you time on the big day. They can be stored in the fridge for 3-5 days or frozen for up to 3 months.
These balls are ideal for any party. Their small size, make-ahead feature, and delicious taste make them a favorite. Your guests will adore them and won’t stop praising your cooking skills.
Essential Ingredients for Cheesecake Ball Recipe
Making the perfect cheesecake ball needs a few key ingredients. These ingredients work together to make a rich, creamy, and decadent treat. The main ingredient is cream cheese. This soft, tangy cheese gives the cheesecake balls a luxurious texture and flavor.
To balance the cream cheese, you’ll need confectioners’ sugar. This powdered sugar adds sweetness and makes the cheesecake balls light and airy. A bit of vanilla extract also enhances the flavor, adding a warm, aromatic essence.
Graham cracker crumbs are also crucial in this recipe. Half of the crumbs are mixed into the cheesecake mixture for a delightful crunch. The rest are used to coat the chilled cheesecake balls, adding a delightful outer layer.
These four ingredients – cream cheese, confectioners’ sugar, vanilla extract, and graham cracker crumbs – are the foundation for a remarkable no-bake cheesecake ball. With the right balance and preparation, you can make a party-worthy dessert that will impress your guests.
| Ingredient | Quantity | Purpose |
|---|---|---|
| Cream Cheese | 16 oz (2 blocks) | Provides the rich, creamy base |
| Confectioners’ Sugar | 1 cup | Adds sweetness and a light, fluffy texture |
| Vanilla Extract | 2 teaspoons | Enhances the overall flavor profile |
| Graham Cracker Crumbs | 1 1/2 cups | Adds texture and a crunchy coating |
With these essential components, you can make a delightful no-bake cheesecake ball. It’s sure to be the star of any party or gathering. Try adding lemon juice or fruit preserves to create unique variations and personalize your cheesecake balls for your guests.
Kitchen Tools and Equipment Needed
To make these tasty no-bake cheesecake balls, you’ll need some basic kitchen tools. First, a stand mixer or electric hand mixer is key for mixing the creamy filling. You’ll also need a tablespoon or cookie scoop to portion the mixture right.
Essential Tools
- Stand mixer or electric hand mixer
- Tablespoon or small cookie scoop
- Parchment-lined plate or baking sheet
Optional Equipment for Advanced Preparation
A food processor can be useful for crushing graham crackers finely. You might also use plastic wrap to cover the cheesecake mixture while it chills.
| Tool | Purpose |
|---|---|
| Food Processor | Crushing graham crackers into a fine texture |
| Plastic Wrap | Covering the cheesecake mixture during chilling |
With these tools and optional items, you’re ready to make perfect no-bake cheesecake balls. They’ll be a crowd favorite at any party or gathering.
Step-by-Step Preparation Process
Making no-bake cheesecake balls is easy and fun. Start by beating the cream cheese until it’s smooth and creamy. Then, mix in some sugar and vanilla extract to boost the taste.
Next, add the graham cracker crumbs. Mix them into the cream cheese until they’re spread out evenly. This makes a tasty base for your cheesecake balls.
- Use a cookie scoop or your hands to shape the mix into balls, about 1-inch big.
- Put the cheesecake balls on a baking sheet lined with parchment paper. Chill them in the fridge for 30 minutes. This helps them firm up.
- Roll the chilled balls in more graham cracker crumbs. This adds a nice crunch to each bite.
The last step is to chill the coated cheesecake balls for another 30 minutes to 1 hour. This allows the flavors to blend nicely and the texture to firm up. Now, your no-bake dessert is ready to enjoy or share with others.
| Ingredient | Quantity |
|---|---|
| Cream Cheese | 8 oz block, softened |
| Confectioners’ Sugar | 1/2 cup |
| Vanilla Extract | 1 teaspoon |
| Graham Cracker Crumbs | 1 1/2 cups, divided |
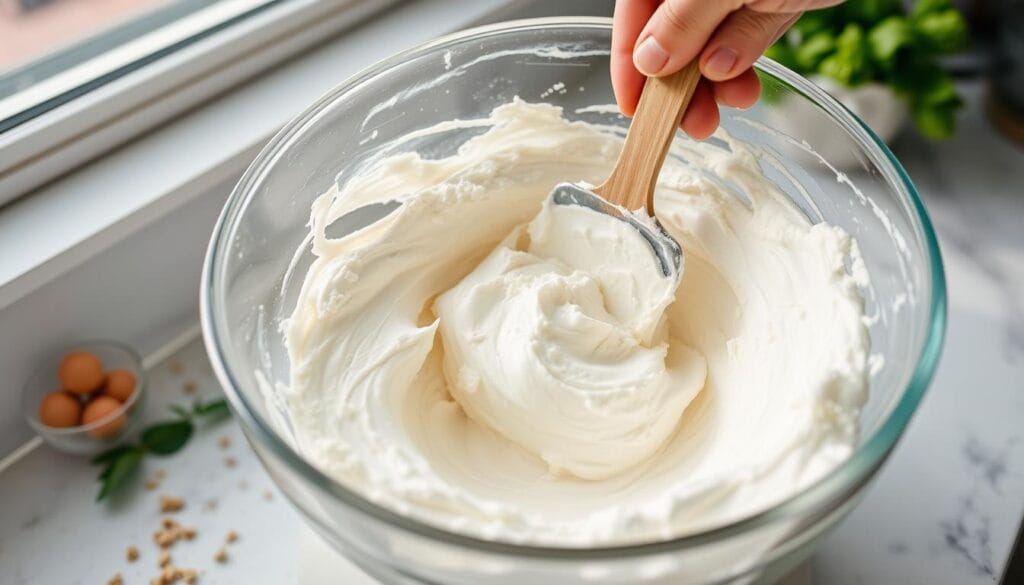
“The key to perfect cheesecake balls is achieving the ideal balance between the rich, creamy cheese and the delightful crunch of graham cracker crumbs. With just a few simple steps, you can create a mouthwatering dessert that will wow your guests.”
Creative Coating Options and Variations
Make your homemade cheesecake balls even better with tasty coatings and toppings. You can go from classic chocolate to crunchy nuts. The choices are endless for these small treats.
Sweet Coating Ideas
Dip your chilled cheesecake balls in melted chocolate coating for a rich taste. For extra crunch, roll them in crushed nuts or cookie crumbs. Try adding a caramel drizzle or a dollop of fruit preserves for fruity sweetness.
Decorative Toppings
Make your cheesecake balls stand out with cool toppings. Sprinkle coconut flakes, chopped dried fruit, or cocoa powder for a fancy look. For a holiday vibe, add a caramel drizzle or crushed graham crackers.
There’s no limit to how you can make your cheesecake balls special. Enjoy trying new flavors and decorations to create a dessert that’s all your own.
Make-Ahead Tips and Storage Guidelines
No-bake cheesecake balls are super versatile. You can make them ahead of time, perfect for parties or gatherings. Here’s how to keep them fresh and tasty.
Refrigerator Storage
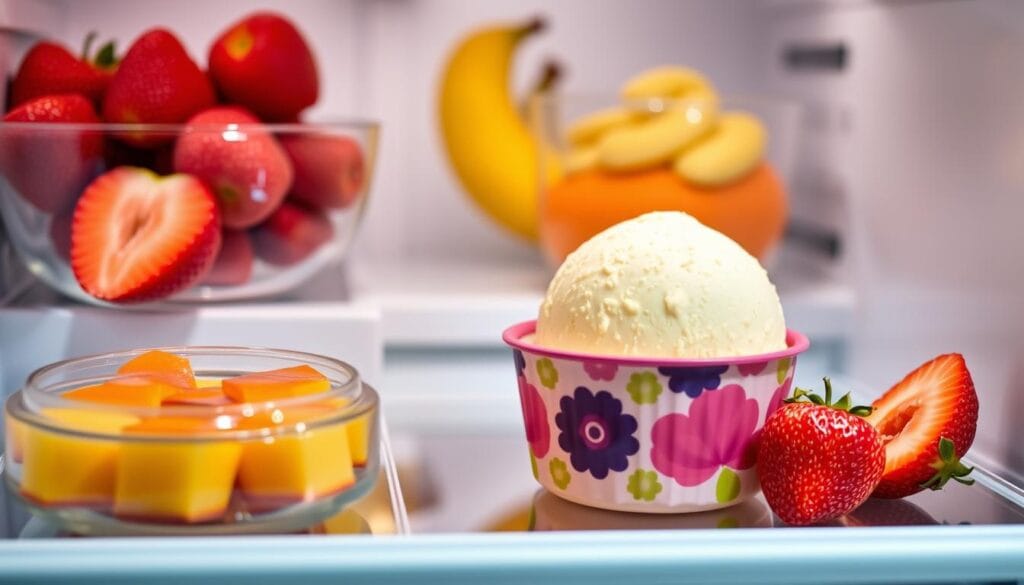
After making your cheesecake balls, store them in the refrigerator for up to 5 days. Use an airtight container or a resealable bag to keep them moist. This way, you can make them a day or two before your event.
Freezer Storage
For longer storage, freeze your cheesecake balls for up to 3 months. Put them in an airtight container or wrap them in plastic wrap to avoid freezer burn. Thaw them in the refrigerator overnight before serving.
| Storage Method | Maximum Storage Time |
|---|---|
| Refrigerator | Up to 5 days |
| Freezer | Up to 3 months |
Using these storage tips, you can prepare your cheesecake balls ahead of time. This way, you’ll have a delicious dessert ready when you need it. Try different flavors and enjoy the creamy delight of your homemade cheesecake balls.
Expert Tips for Perfect Cheesecake Balls
Getting the right texture for your cheesecake balls is key. Ensure your cream cheese is at room temperature before mixing for the best results. This step helps avoid lumps and makes the filling smooth and creamy.
Texture Troubleshooting
If your cheesecake balls turn out grainy or lumpy, don’t worry. Here are some fixes:
- Beat the cream cheese with a hand or stand mixer until it’s fluffy.
- Sift the powdered sugar before mixing it with the cream cheese to avoid clumps.
- Slowly mix in the whipped cream or sour cream to keep the texture light and airy.
Temperature Control Tips
Temperature is crucial for the perfect cheesecake ball texture. Chill the filling for at least 2 hours or overnight. This step helps firm up the mixture, making it easier to shape into balls.
Work fast when shaping the balls. If the filling gets too soft, put it back in the fridge for a few minutes. This will help you handle it better.
By following these tips, you’ll make smooth and perfect cheesecake balls. They’re sure to wow your guests.
Serving Suggestions and Presentation Ideas
When serving your no-bake cheesecake balls, presentation matters a lot. Make your dessert stand out by arranging it nicely. Start by placing the cheesecake balls on a dessert platter or in mini cupcake liners. This makes them look great and ready for a party.
To wow your guests, set up a dessert board with different cheesecake ball flavors. Add some other treats to mix things up. It’s fun and lets everyone try new things.
- Arrange the cheesecake balls on a large serving platter or board for a visually stunning display.
- Serve the cheesecake balls in mini cupcake liners for individual portions and easy handling.
- Pair the cheesecake balls with other bite-sized desserts, such as mini cookies or chocolate-dipped strawberries, for a delightful assortment.
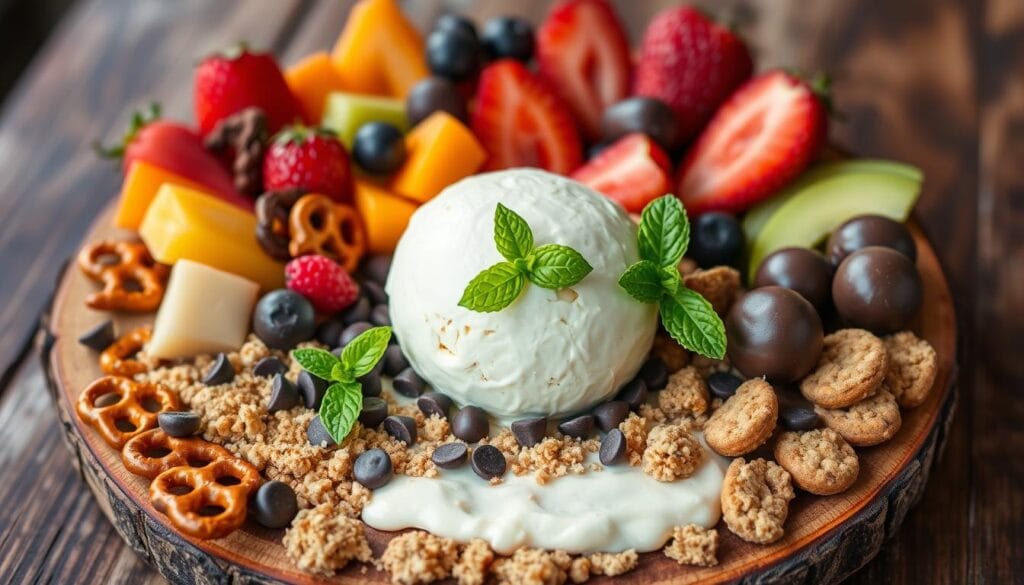
“The presentation of these no-bake cheesecake balls will undoubtedly impress your guests and make your dessert table the highlight of the event.”
Remember, the key to a great cheesecake ball presentation is to show off the variety. This lets your guests enjoy every delicious bite.
Common Mistakes to Avoid
Making the perfect cheesecake ball needs careful attention. Don’t let common mistakes ruin your dessert. First, don’t overmix the ingredients. This can make the cheesecake too runny and lose its shape. Just mix the ingredients gently until they’re just combined.
It’s also important to give the mixture enough time to chill. Wait at least 2 hours, or even overnight, for it to firm up. If you rush this step, your cheesecake ball might end up too soft and messy.
- Make sure all the balls are the same size. This helps them cool evenly and look better.
- Let all the dairy, like cream cheese and eggs, come to room temperature before you start. This helps them mix smoothly and gives a creamy texture.
- Don’t leave cream cheese out for more than 2 hours. This is to avoid food poisoning.
By avoiding these mistakes, you’ll make delicious, professional-looking cheesecake balls. These will impress your guests. Paying attention to detail is crucial for a great dessert.
| Mistake | Consequences | Solution |
|---|---|---|
| Overmixing | Runny, unappealing texture | Gently fold ingredients until just combined |
| Inadequate chilling time | Soft, messy ball that loses structure | Chill for at least 2 hours, or overnight |
| Uneven ball sizes | Inconsistent cooking, presentation | Maintain consistent ball sizes |
By avoiding these mistakes, you’ll make amazing cheesecake balls for your party. Paying attention to detail is key for the right texture and look.
Conclusion
No-bake cheesecake balls are a hit for any event or a tasty treat at home. They’re easy to make and you can change up the flavors. These yummy bites will wow your guests and satisfy your sweet tooth.
Choose a classic cream cheese mix or try something new. The recipe is flexible, so you can add your own twist. You can coat them in sweet stuff or top them with decorations. This lets you make a dessert that’s just right for you and the event.
Give making these no-bake cheesecake balls a try for your next party or family treat. They taste amazing and look great. These treats are sure to be a hit and have everyone asking for more.
FAQ
What are the key ingredients in the cheesecake ball recipe?
What tools and equipment are needed to make the cheesecake balls?
How do you make the cheesecake balls?
What are some creative coating and decorative topping ideas for the cheesecake balls?
How should the cheesecake balls be stored?
What are some tips for ensuring perfect cheesecake balls?
How should the cheesecake balls be served and presented?
Did You Try Our Recipe?
There are no reviews yet. Be the first one to write one.
